How to Use Midjourney Privately?
In the modern digital world, safeguarding our privacy has become crucial. Midjourney, a platform for creative image generation, provides a valuable solution for keeping your creations private. In this guide, we will walk you through the steps necessary to ensure that your work remains confidential and protected while using Midjourney privately while revealing how to use Midjourney privately.
Privacy Features in Midjourney
Based on the language used, it is evident that you value privacy and security when it comes to your generated images and interactions. Here are a few methods to ensure their restricted access:
1. Account and Subscription Management.
To ensure secure use of Midjourney, one of the first steps is to create an account with a unique username and a strong password during registration. This will enhance security measures.
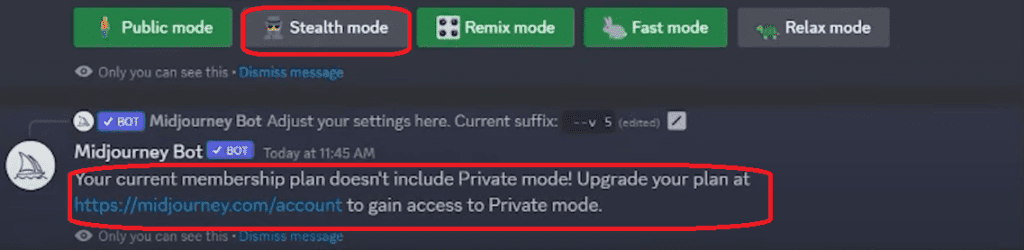
To access additional privacy features, please review your subscription plan options. Regardless of your current plan, it is essential to enable “Stealth Mode” in order to maintain the confidentiality of your content.
2. Activate Stealth Mode
In Midjourney, Stealth Mode is a crucial feature that ensures privacy for users. When activated, this mode makes all user-generated images completely invisible to the public.
It’s an essential tool to use when working on a sensitive or exclusive project that you would like to keep confidential and inaccessible to unauthorized individuals.
To activate this mode and protect your creative work from prying eyes, simply follow the instructions provided by Midjourney’s user interface. This will ensure that your imaginative efforts remain safely hidden.
Private Server Options to Consider
If you value complete confidentiality and need a private space for collaboration, considering private server options would be a prudent decision.
1. Create a Private Server
Create your own personalized sanctuary on Discord, tailored to your collaboration needs. In this secure space, every interaction remains private and exclusive to you and the collaborators you select.
Creating private server is an easy task for the midjourney users, here are the steps to follow
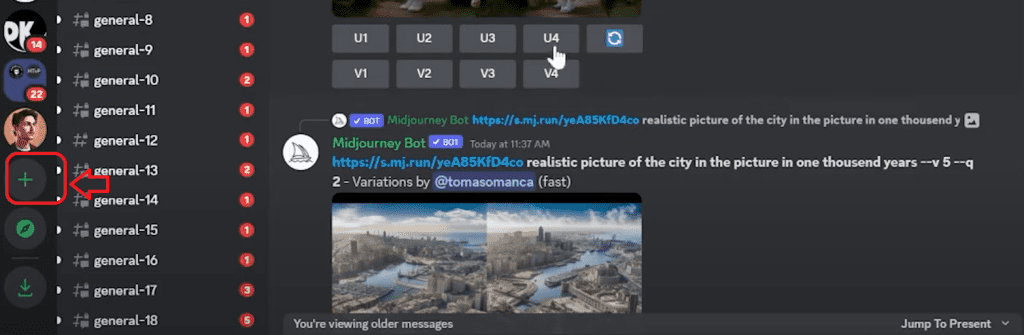
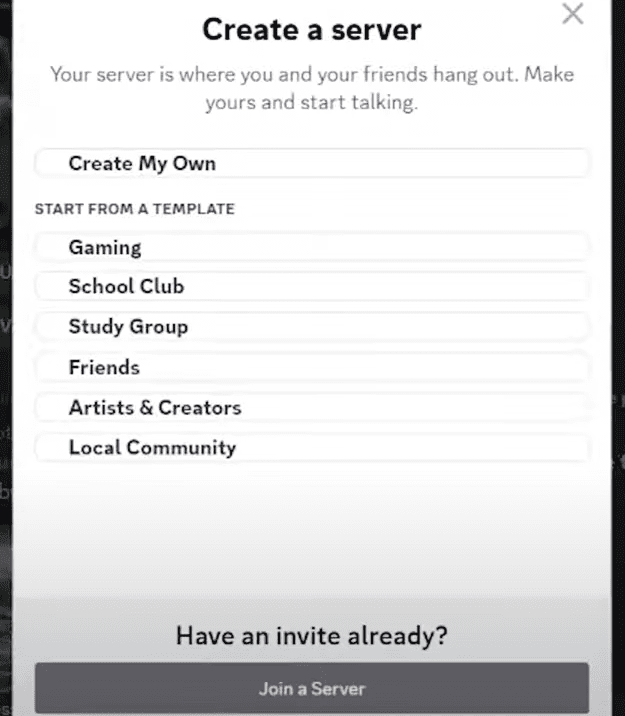
- You can see the Add button at the left side of your Midjourney Profile page, Click this button.
- Now hit “Create my Own” option.
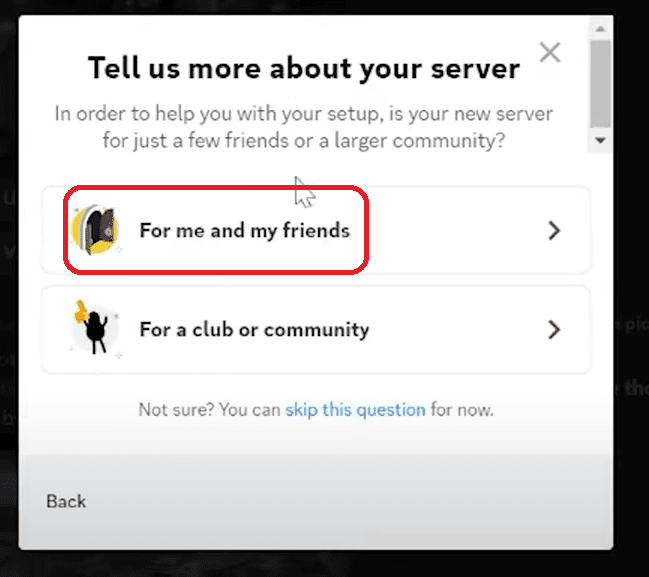
- In the next step click “For me and my friends” option
- Now its time to name your Midjourney Private server. You can customize the Private nameserver as per your need and hit Create button.
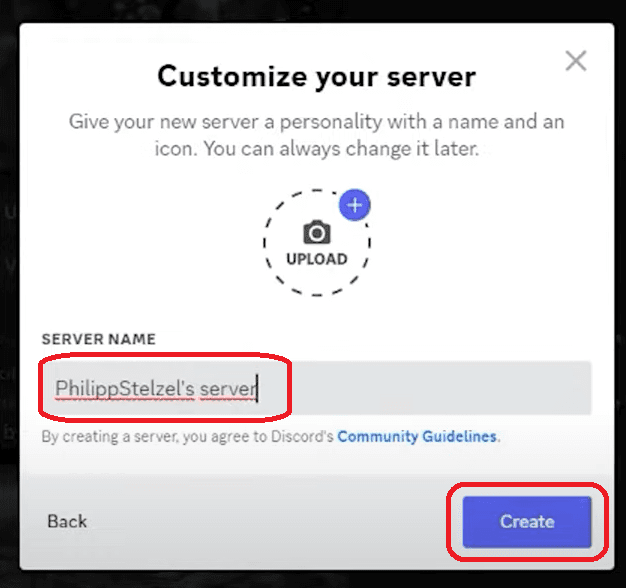
- And done, now you have created a private server in your Midjourney profile.
2. Integrate Midjourney in Your Private Server
Enhance the exclusivity of your server by seamlessly incorporating the Midjourney bot. By integrating this feature, you can easily create and collaborate on images without having to worry about your work being exposed to unauthorized individuals.
Well, Integrating the newly created Private server with your Midjourney profile in a bit tricky. Let’s discuss the step-by-step process.
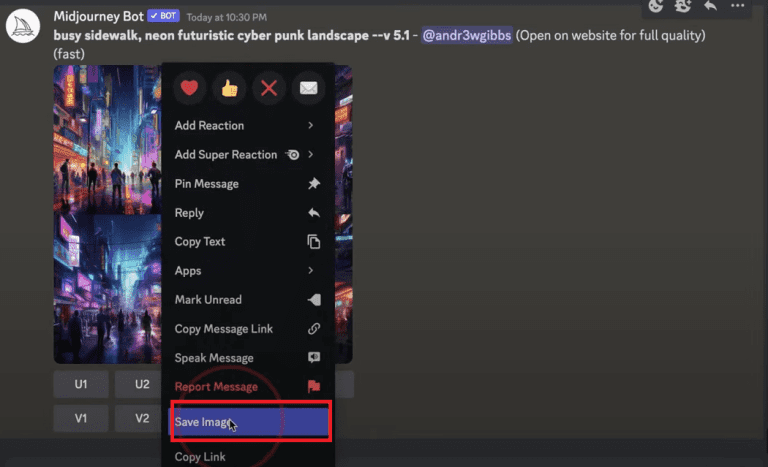
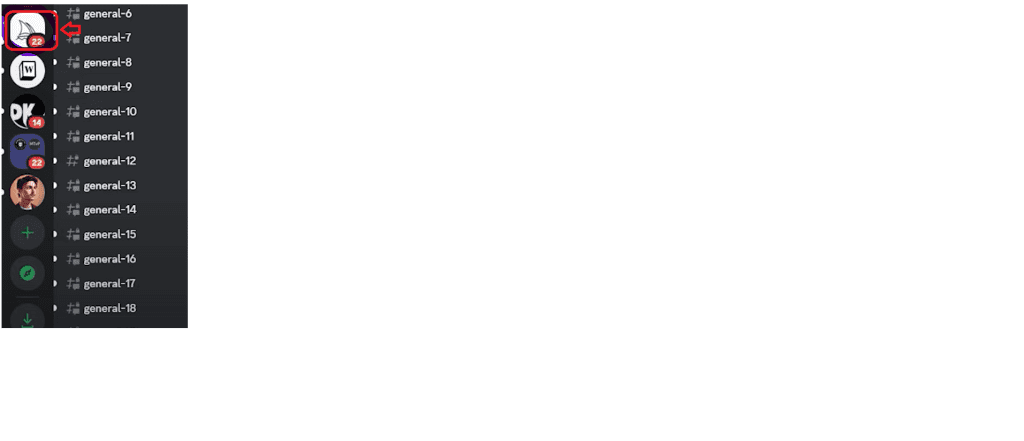
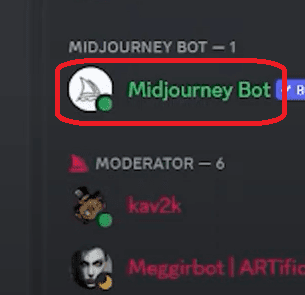
- Click the images icon on the left side of your Midjourney profile as shown in the image below.
- Now click the “Midjourney Bot” on the Right hand side of your midjourney profile to integrate it with private server.
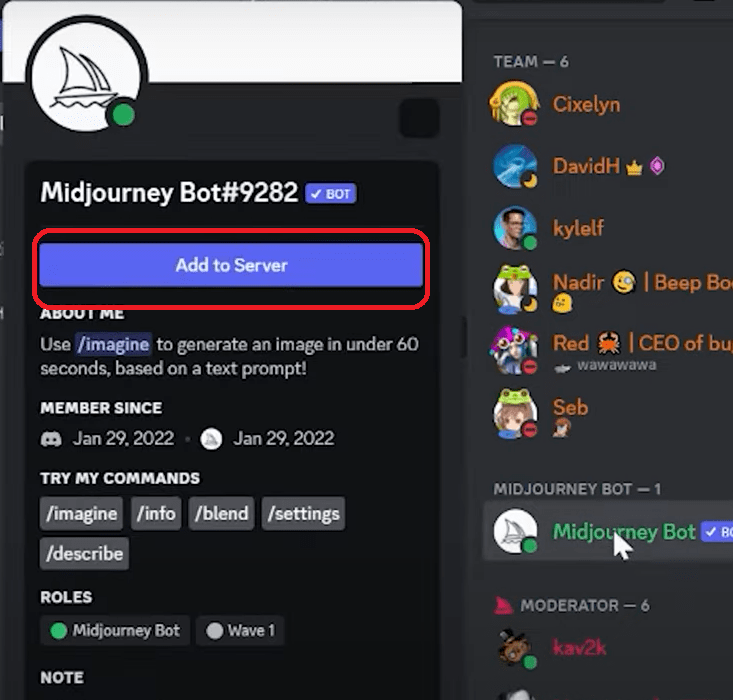
- Now hit “Add to server” Button to proceed.
- Now its time to select your newly created Private server from the drop down list and hit Authorize button.
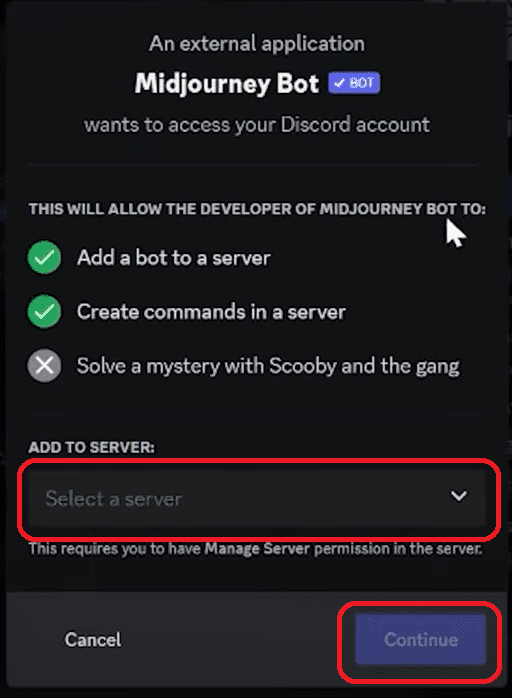
- Now it will ask to fill the captcha.
- And done. You have successfully integrated your private server with Midjourney.
3. Privacy Reservation in the Private Server
You can be confident that any images created within your private server will stay within its secure boundaries. This important security feature guarantees that your creative work remains protected and confidential, preventing any unwanted exposure of your projects.
Leverage Stealth Mode Subscription
As you are now ready to take your privacy one up, here are the ways that you can leverage the Stealth Mode feature:
1. Accessing Stealth Mode
Discover the hidden world of privacy with Discord’s “private” command. Uncover its features and benefits as you delve into a realm of secrecy.
Here is the step-by-step process to access the stealth mode in Midjourney.
- Find the Settings option in your Midjourney account, and click it
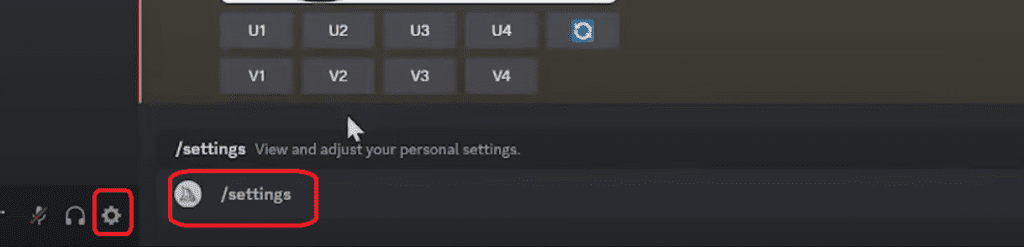
- Now, the stealth mode is visible on your screen like the image given below.
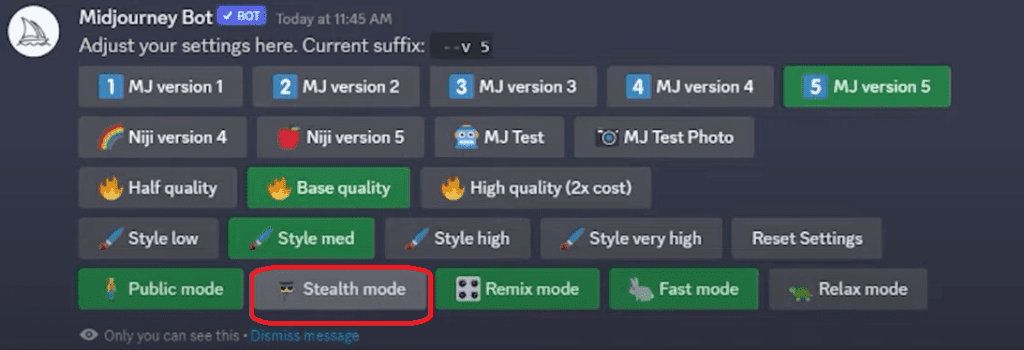
- Click the Stealth mode and you are good to go.
2. Upgrade Premium Plan
Midjourney offers two premium plans for its customers. By upgrading your plan, you can access advanced features like stealth mode. Subscribing to one of these plans not only gives you the freedom to choose, but also provides peace of mind and enhanced privacy to protect your creative endeavors.
Enhancing Privacy on Specific Projects
With certain projects needing an extra layer of privacy, here is what you can follow:
1. AI Help Endorsement
Use AI-based tools like ChatGPT to generate creative prompts for your Midjourney images. This approach maintains the simplicity of creativity while ensuring that you have all the necessary details for your project.
2. Premium plan for utmost privacy
If you are working on projects that are highly personal, commercial, or intimate in nature, upgrading to a premium plan with stealth mode would be the most recommended option. This ensures that your creations remain securely yours and provides the necessary privacy for sensitive endeavors.
Final Thoughts
Rephrase Midjourney offers a secure platform for creating and collaborating. Users have the option to activate stealth mode, use a private server, or choose a premium plan to ensure the confidentiality of their work.
This guarantees that images and interactions are kept private while exploring digital creativity. Midjourney’s features prioritize privacy, providing a space where users can freely express their creativity without compromising security.